Activation test print, verify the full pipeline
Step 1. Run the component test
Section titled “Step 1. Run the component test”On P/X and H-series printers, hold the outer door button (on the tilted foot, marked with the FarmLoop logo) for about 5 seconds to enter test mode. The board runs through each hardware element in sequence on demand - no print involved (P/X order: fan → bender → door; H series order: bender → bender → door).
On A-series printers there’s no door button - the board self-tests on power-up (fan, actuator, and limit switch each cycle once). Power-cycle the FarmBoard to re-run it; the A-series verify page covers the LED reference.
- Everything fires correctly → the hardware is good. Move on to step 2.
- Something doesn’t fire → work through these in order before continuing:
- Check the plugs on the FarmBoard. Power the printer down, reseat every connector (actuator, limit switch, door, fan, AMS / power) and make sure each one is fully clicked in. Loose connectors during shipping or vibration are the single most common cause.
- Reflash the board with the latest firmware from the Firmware page. Bugs in earlier firmware can cause individual triggers to misfire even when the wiring is fine.
- Still failing? Walk through Verify installation for your printer family cable by cable to identify which connection is bad.
Step 2. Full workflow test
Section titled “Step 2. Full workflow test”This step walks you through the exact workflow you’ll use for every production print: slice a file in Bambu Studio, process it through the FarmLoop app, and send the FarmLoop-modified file to your printer.
Walk through the workflow
Section titled “Walk through the workflow”-
Download the test file: FarmLoop_Test_Print.3mf - one file for all printers.
-
Slice it in Bambu Studio. Open the
.3mf, select your printer in the top bar, and slice as normal.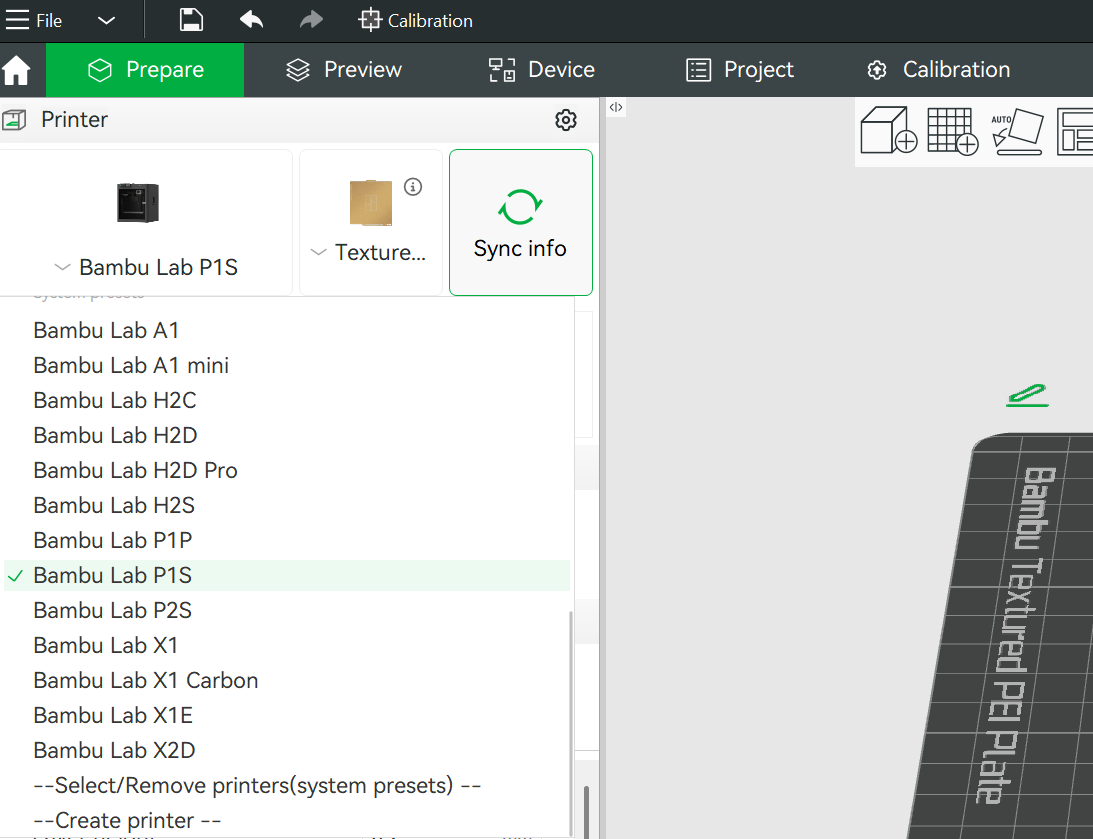
-
Export the plate-sliced file. Use File → Export → Export plate sliced file to save the
.gcode.3mf.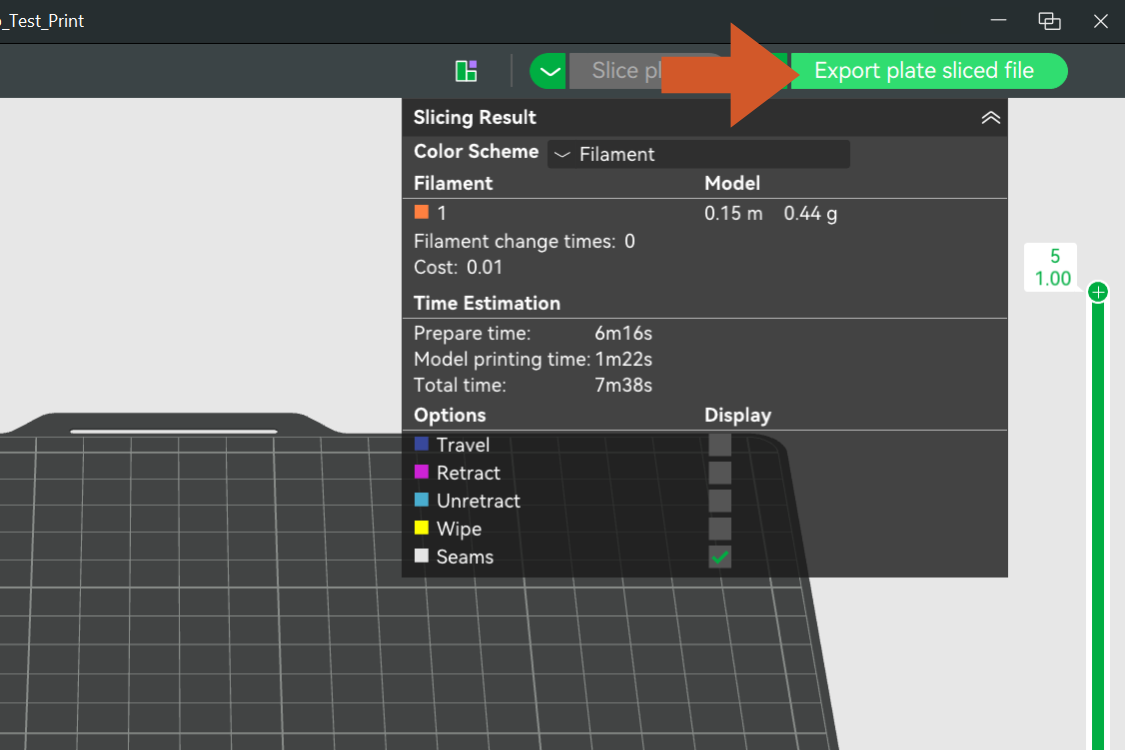
-
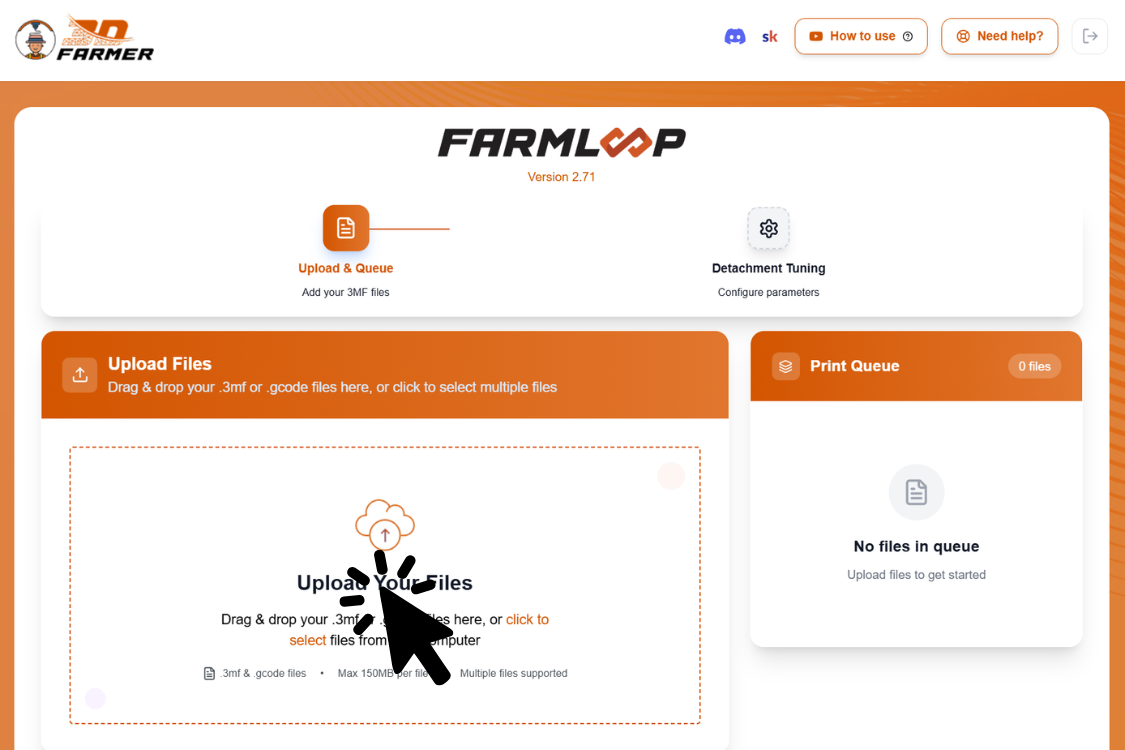
Upload it to the FarmLoop app at app.3d-farmers.com.
-
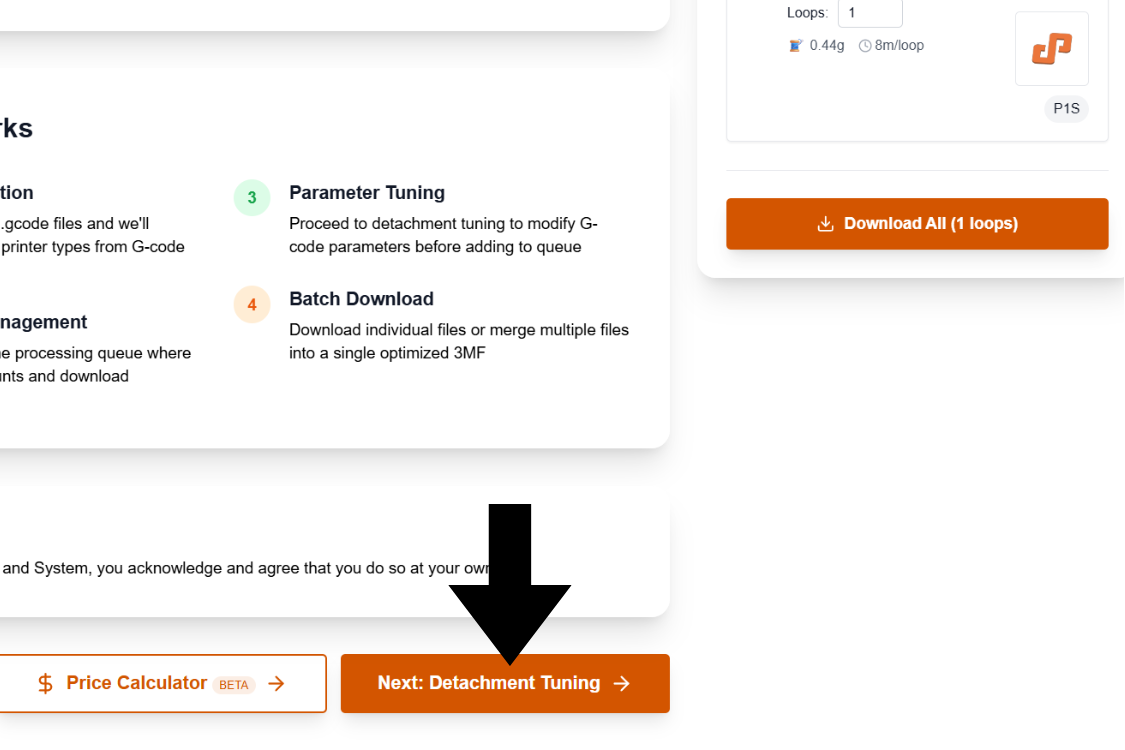
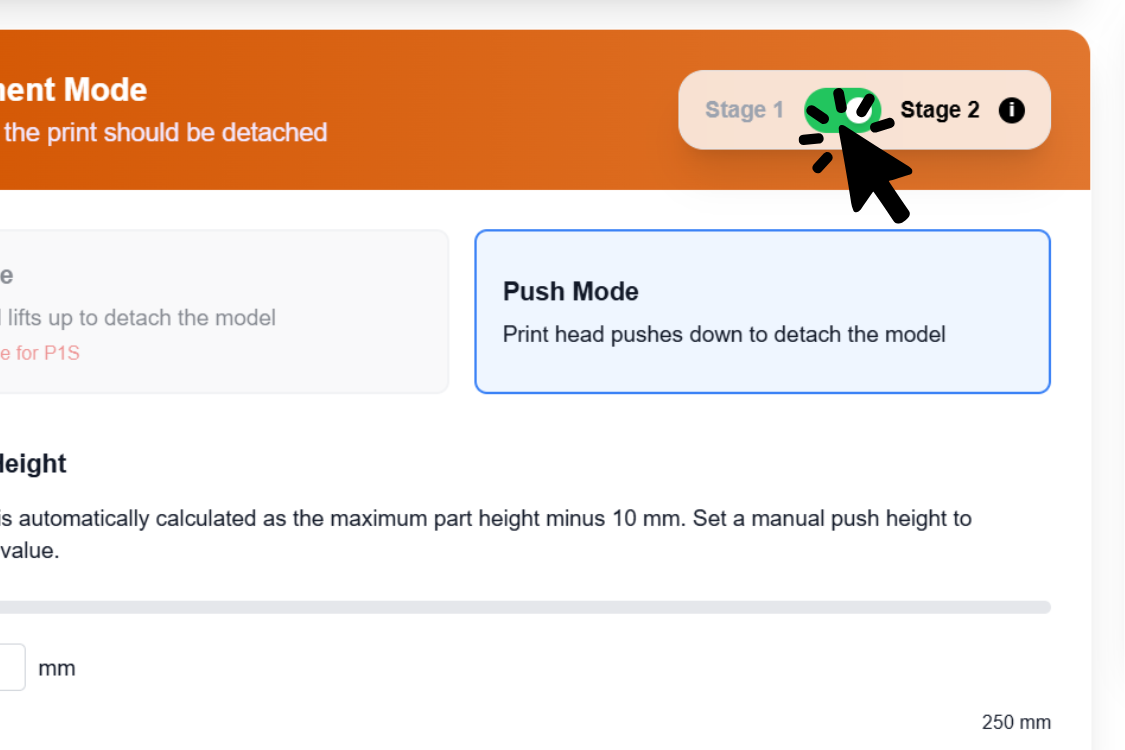
Go to Detachment Tuning.
-
Select Stage 2.
-
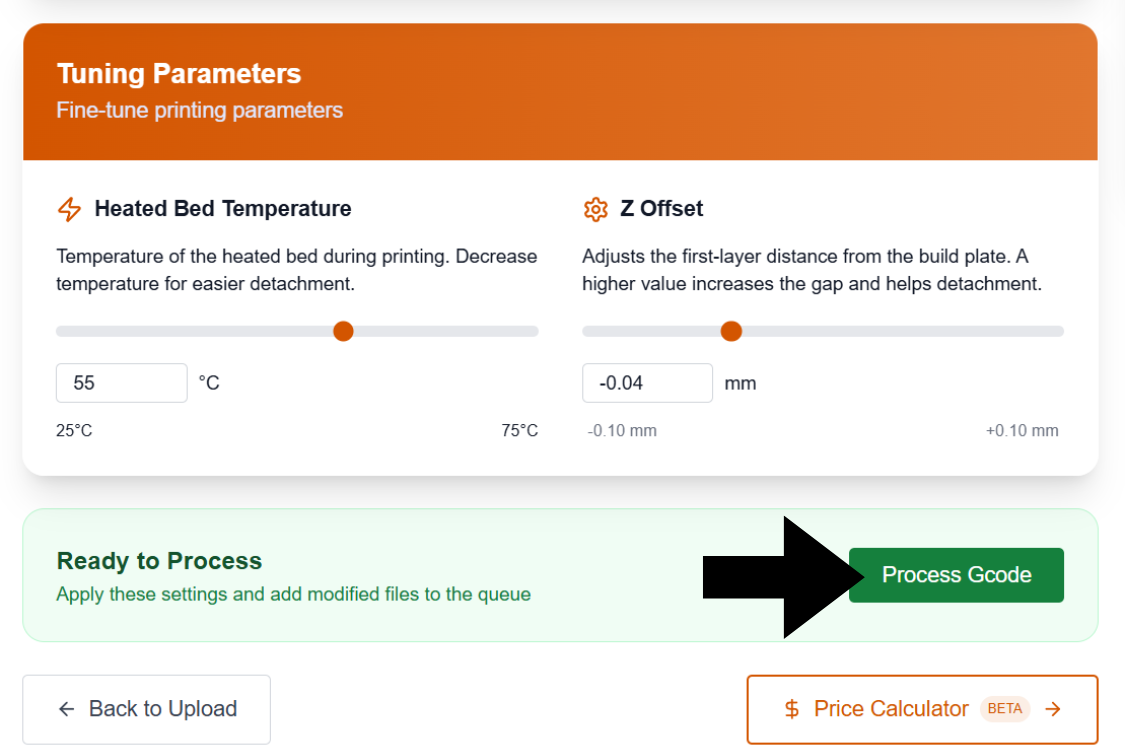
Process the G-code - click Process Gcode (called Add to Queue in older app versions). This injects the FarmLoop eject routine into your file. Without this click, nothing downloads - it’s the single most-missed step in the whole workflow.
-
Download the modified
FL_S2file the app generates.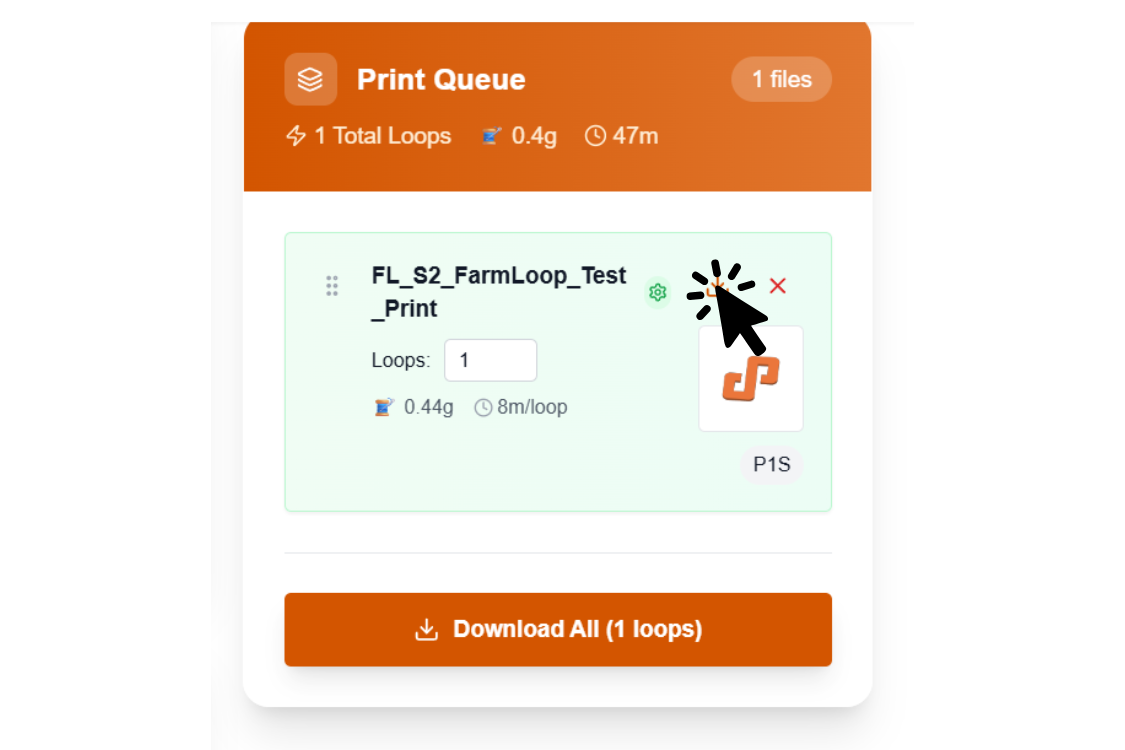
-
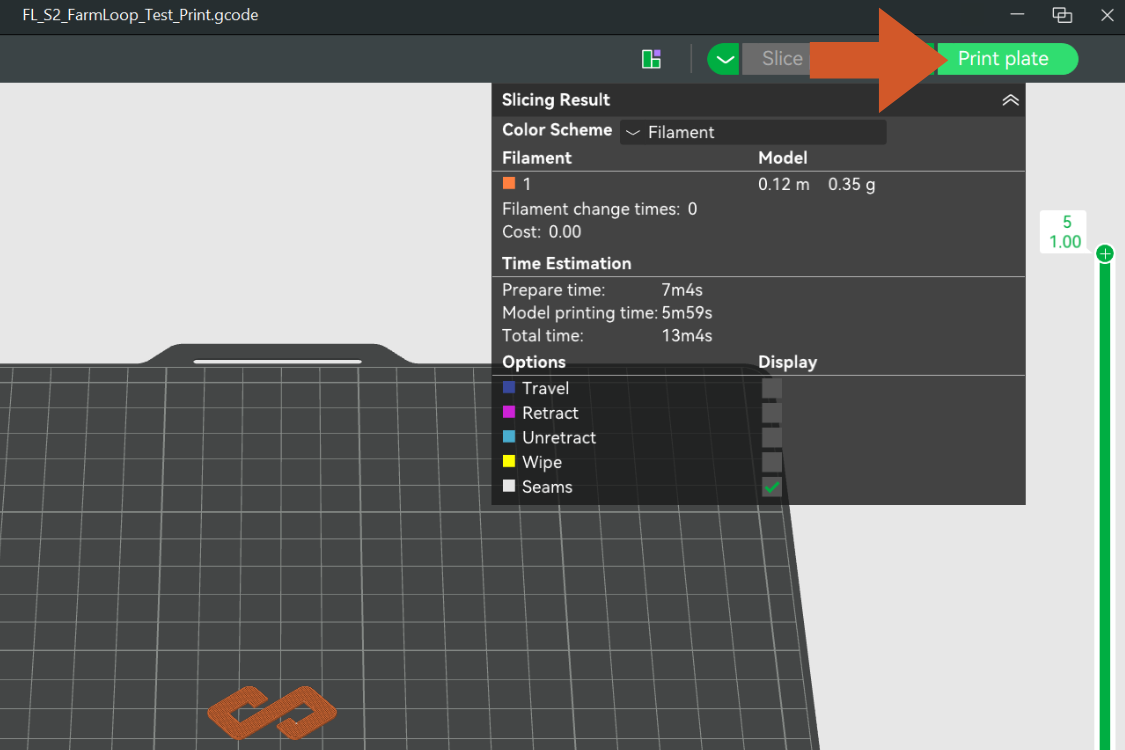
Open it in Bambu Studio (File → Open).
-
Send it to your printer - connect in the bottom-right dropdown and click Print.
What you should see
Section titled “What you should see”Once the print finishes and the bed cools to the FarmLoop threshold, the eject routine fires:
- Door opens (P / X and H series with door kit)
- Bender engages - you’ll hear a servo whir
- Push routine runs - it deliberately misses the small test part
- Bender retracts
- Door closes
- The printer returns to idle
The part staying on the plate is expected. If every trigger fired in sequence, your FarmLoop pipeline is working end-to-end.
That’s the full pipeline verified. See You’re ready for production below for tuning your own parts.
What failure looks like
Section titled “What failure looks like”Remember: the test part not detaching is expected. “Failure” here means a trigger didn’t fire, not that the part stayed on the plate.
| What you see | Likely cause | Where to fix |
|---|---|---|
| Eject didn’t run at all, print just ends | Bed-temp threshold mismatch, or the FL_S2 file wasn’t the one sent | Temperature mismatch |
| App won’t process the G-code | Wrong export (Save Project instead of plate-sliced file), or Stage 2 not selected | Re-export via File → Export → Export plate sliced file, then re-process |
| Printer errors on bed leveling after eject | Bender interfered with homing | Bed-leveling errors |
| Door didn’t open (P / X and H series) | Door-actuator wiring | Verify installation → P / X series |
| Bender / push routine never engaged | Limit switch or FarmBoard wiring | Re-run Step 1; if it fails there too, Verify installation |
You’re ready for production
Section titled “You’re ready for production”The FarmLoop pipeline is verified end-to-end. Every production print uses the exact same workflow you just did: slice in Bambu Studio → process in the FarmLoop app → download the FL_S2 file → print.
Tuning detachment for real parts
Section titled “Tuning detachment for real parts”The test part was designed not to detach. For your own parts, open Detachment Tuning in the FarmLoop app before you process the file, and set:
- Bed-temperature threshold for eject (or switch to time-based)
- Z-offset adjustment
- Print orientation on the plate
- Fan upgrade on / off (if installed)
Not sure what values to use? See Parts won’t detach.
Prefer to watch?
Section titled “Prefer to watch?”There’s a full walkthrough video in the top-right corner of the FarmLoop app, or jump straight to it: YouTube: FarmLoop workflow walkthrough.
Related
Section titled “Related”- Step 5, verify installation, the mechanical test that comes before this
- Parts won’t detach, if a real part doesn’t come off cleanly